


Japanese Rice Bags
Komebukuro are not only cute but practical…


When I started doing Sashiko, I went looking for projects where I could indulge in my latest passion but also make practical things. I started out as, as many do, with small projects such as coaster kits. There were many beginners patterns consisting of mostly straight line grid patterns (moyozashi). Then I advanced to curved line patterns (such as Seigaiha or Ocean Waves) and more complicated patterns with intersecting lines on the grids (Hitomezashi). I have to say I got quite a collection of coasters and searched for projects with more variety. (Check my archives for “What can a New Sashiko stitcher do with all those Coasters?) I indulged in making Hana Fukin (Japanese Hand towels), went on to visible mending on jeans, and then landed on Komebukuro or Japanese Rice Bags. I thought they were relatively easy to make and very practical. I can use them to hold projects and I am always looking for more project bags. You know the more project bags you have the more projects you can acquire, right? By the way, they also hold rice.


In Japanese culture, rice is revered. Of course it is one of my basic food groups, along with sushi, but Japanese use rice as offerings at shrines for their New Years celebrations. And Komebukuro are part of the celebration as they are used by the family to collect the sacred rice at the shrines and bring it home. The bags are decorated with symbols that bring prosperity and good luck to the households. So a highly Sashiko decorated bag made of cotton or silk is a precious commodity to the Japanese and passed down through the generations.
Throughout history they were also used in the more common practice of storing and carrying rice to and from the marketplace and in today’s world they are used to hold presents, kind of like a Furoshiki. But I was more interested in the ability to decorate them with Sashiko patterns. I thought they would be a good project for a beginning Sashiko student as they could be easily decorated and were more useful than another set of coasters.
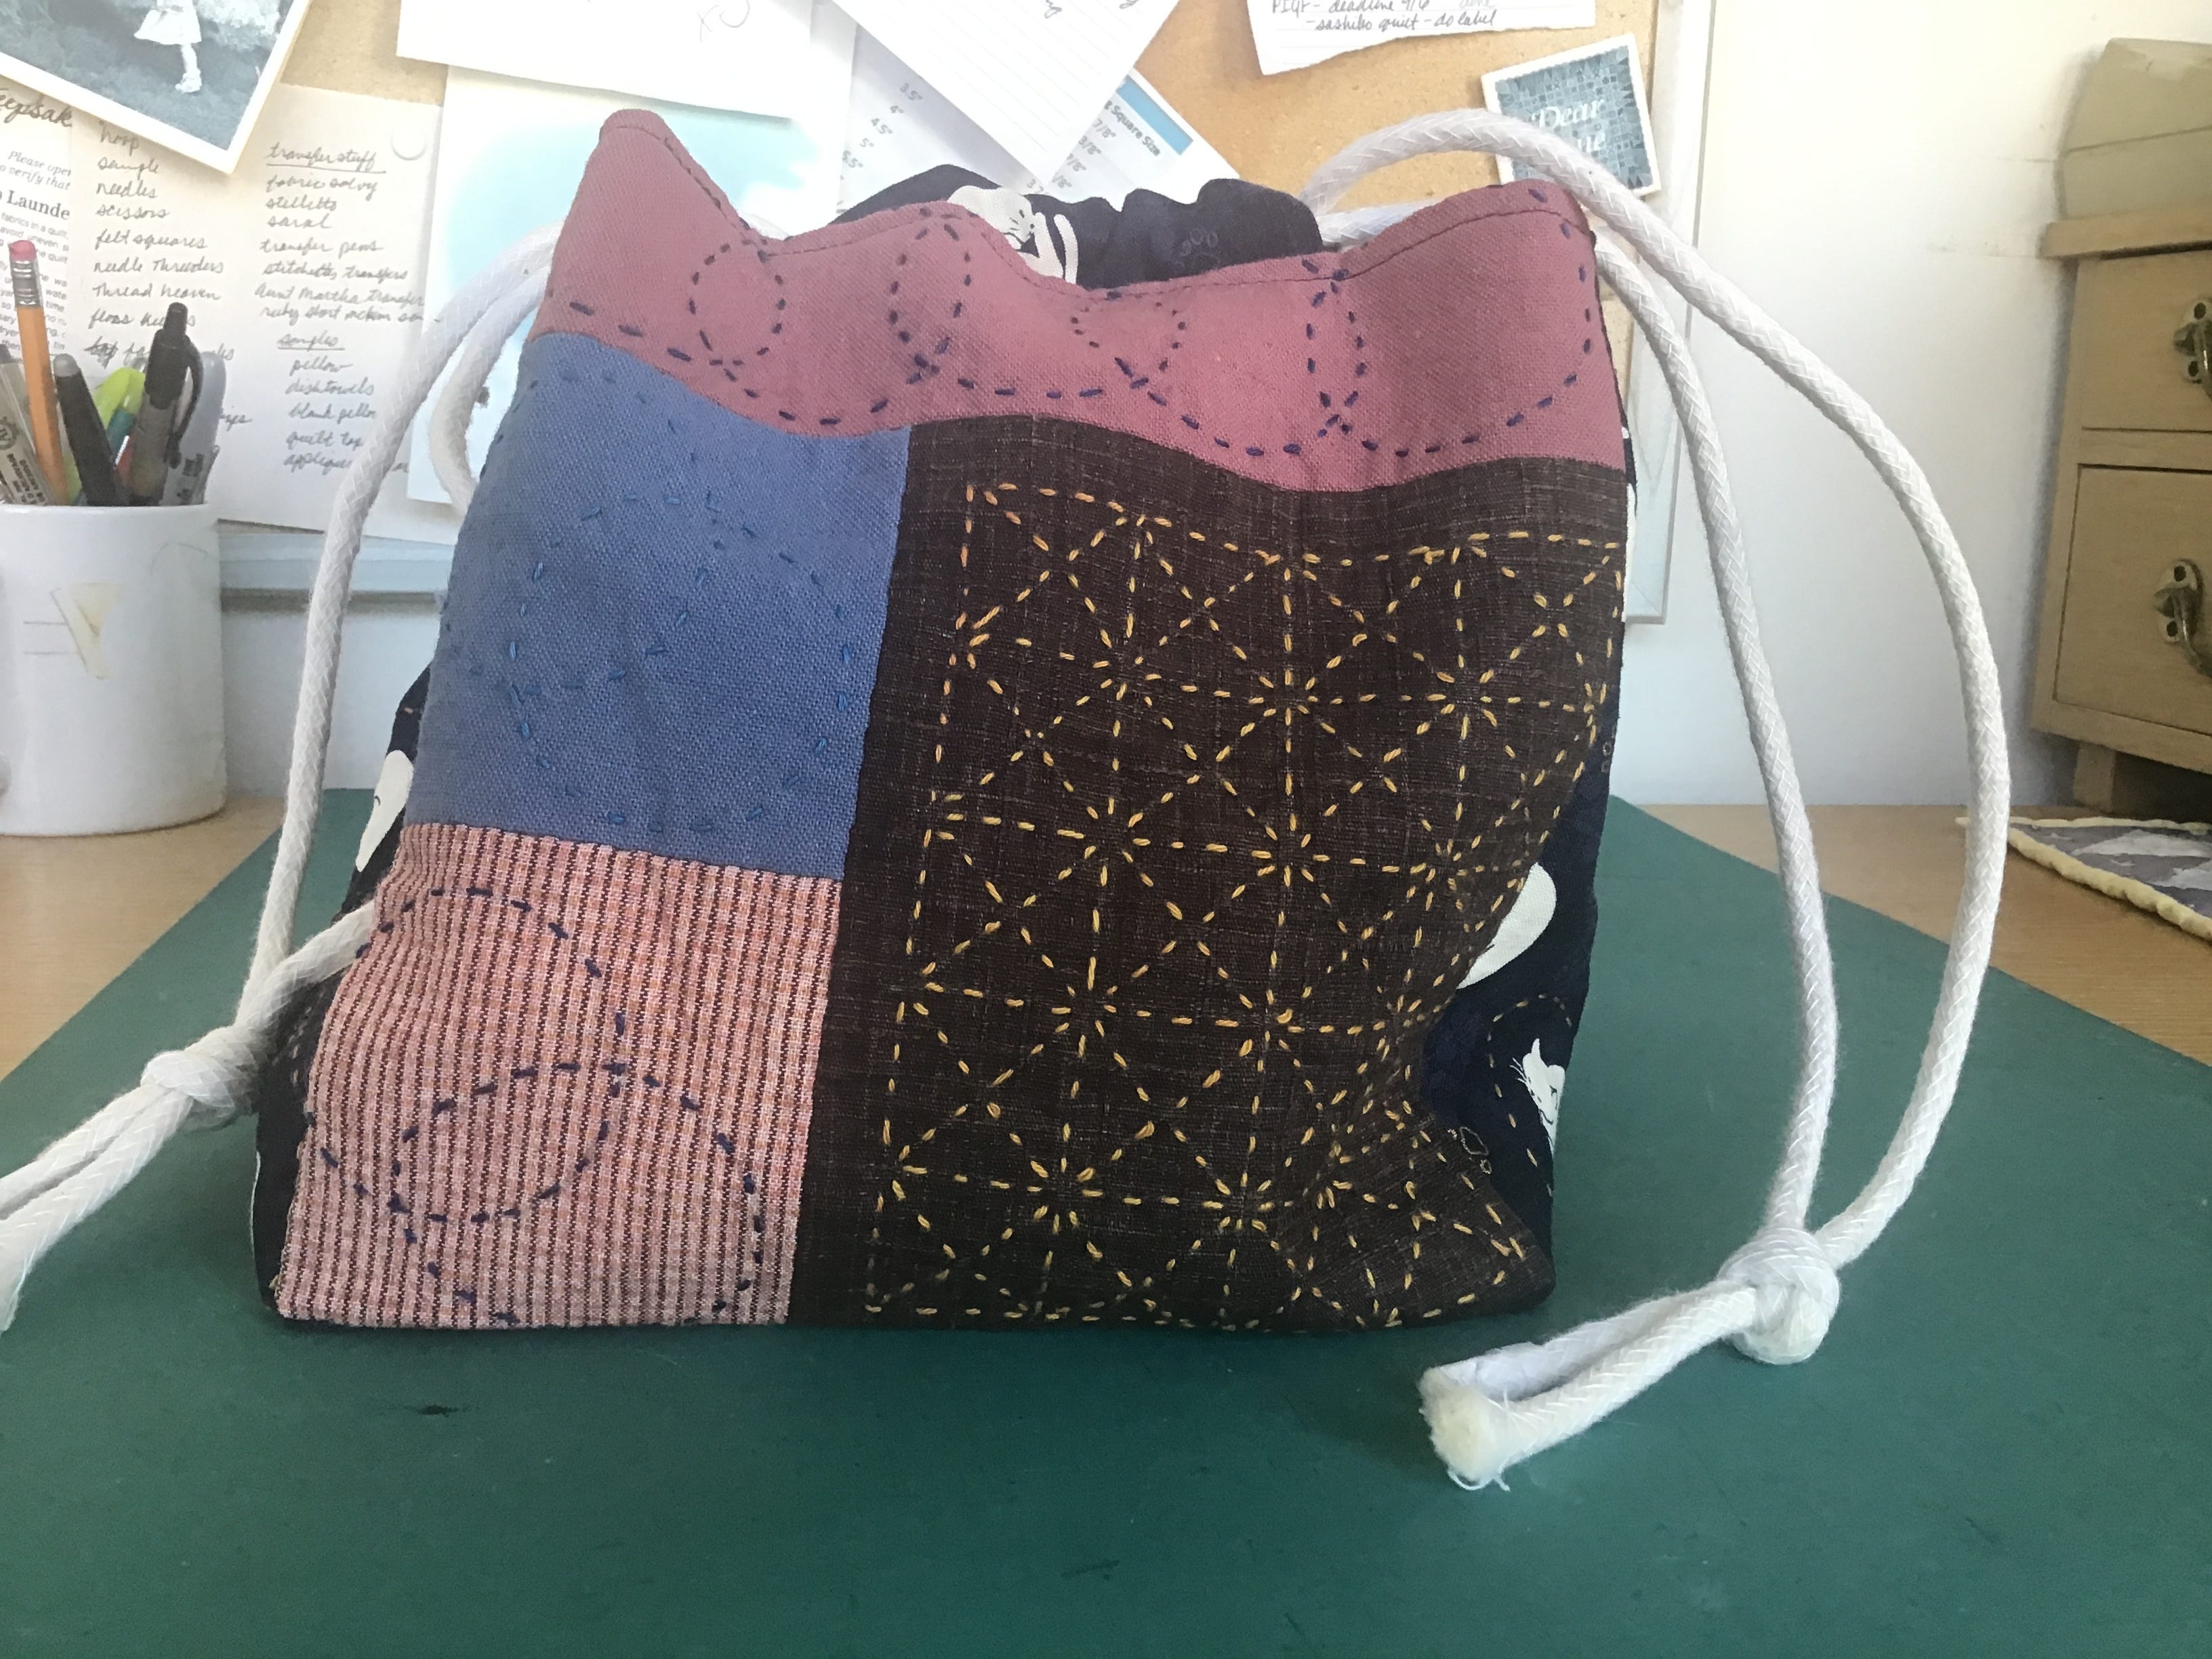
So I set about finding a simple bag pattern that could be used for both hand and machine stitchers. I didn’t really find one, but I was able to develop a suitable pattern after I figured out how they were made. Basically you seam 5 squares of fabric together (the squares must all be the same size), make a lining if you wish (I am fond of lining bags in bright colors), and attach tabs at the top. Then insert some type of cord to cinch it together and Bob’s your uncle as the Brits say.


I decided to use 8” squares and went to work. On the first one I made I used fusible interfacing on the bottom square to strengthen the bag. It turned out okay, but the quilting cotton I used for the sides made the bag very floppy and it wouldn’t stand up. The next one was made of sturdier fabric (a thick Japanese cotton) and I reinforced the sides and bottom with fusible. It stood up nicely, but was too stiff for my liking. So hopefully the third one will be “just right” with reinforced Asian quilting cottons. I want it to kind of stand up but be kind of floppy, if you know what I mean.
I embellished them with a combination of Sashiko patterns mainly Shippo (better known to American quilters as pumpkin seed) and my ever present circles. To me everything looks better with a few circles scattered around and intertwined. Also I wanted to do a beginners gridded pattern so I could introduce gridded or moyozashi Sashiko patterns to my students. I thought the students could sketch a simple grid on one side of the bag and learn the fundamentals of that design.
So if I have piqued your interest, join me for a class at Cloth Carousel in Vacaville. It will be two sessions. The first is Saturday June 8 at 10:30 to 1:30. We will make a hand sewn or machine sewn patchwork of some simple Sashiko patterns for two sides of your bag. On Saturday June 22 we will sew the bag together including the lining and tabs. Here is the link to sign up for the class. Link
I hope to see you there and you can go home with a beautiful bag to hold your rice.